You want a fence contractor who delivers quality, stays on budget, and navigates permits and local codes so your project finishes on time and without surprises. Choose a fence contractors with clear estimates, verified local experience, and solid references to ensure your fence looks right and lasts.
This guide walks you through what to check when choosing a contractor and what to expect during the fence installation process, so you can compare bids confidently and avoid common pitfalls. Keep reading to learn how to spot reliable pros, understand typical timelines and costs, and get the results you want for your property.
Choosing the Right Fence Contractor
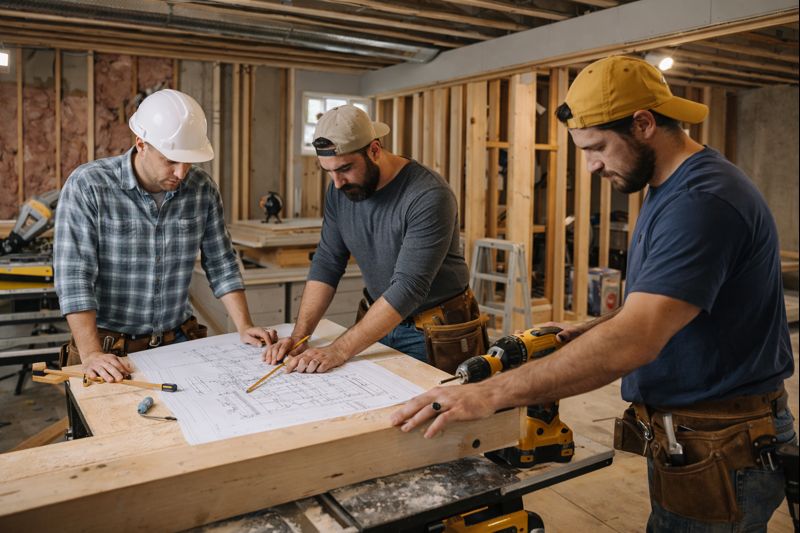
Know what you need, what questions to ask, and which credentials to verify before you sign anything. Focus on materials, timeline, cost breakdown, and proof of past work to make an informed hire.
Factors to Consider When Hiring
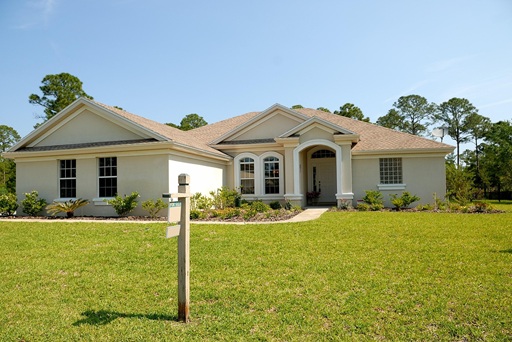
Start by defining the fence purpose: privacy, security, pet containment, or curb appeal. Specify the material (wood, vinyl, aluminum, chain-link, composite) and desired height so contractors give accurate bids.
Ask for a written, itemized estimate that separates materials, labor, permits, and cleanup. Compare at least three bids and look for unusually low prices that may hide inferior materials or subcontracting.
Confirm the project timeline, payment schedule, and warranty terms in writing. Request references and call recent clients about punctuality, cleanup, and whether unexpected issues were handled professionally.
Use this quick checklist when evaluating candidates:
- Material knowledge and alternatives offered
- Clear, itemized written estimate
- Project timeline and payment milestones
- Written warranty and post-install support
Licensing and Insurance
Verify the contractor holds the required state or local contractor license for fencing or general contracting. Licensing shows compliance with building codes and usually requires passing trade and business law exams.
Ask for proof of insurance: general liability and workers’ compensation. Liability insurance protects your property from accidental damage. Workers’ comp covers injuries to workers, preventing you from being liable.
Record policy numbers and insurer contact info, then call to confirm coverage and policy dates. If the contractor uses subcontractors, ensure those workers are also insured and listed on the policy.
Evaluating Experience and Portfolio
Request a portfolio of completed projects that match your fence type and property conditions. Look for installations on similar soil, slopes, and property lines; these indicate relevant hands-on experience.
Inspect photos for post holes, gate hardware, and finishing details like post caps, concrete footing, and paint/stain consistency. Ask about problem sites and how the contractor resolved drainage, root interference, or permit delays.
Check online reviews and ask for 3 local references. When you contact references, ask specifically about adherence to the timeline, change-order transparency, and whether the final invoice matched the estimate.
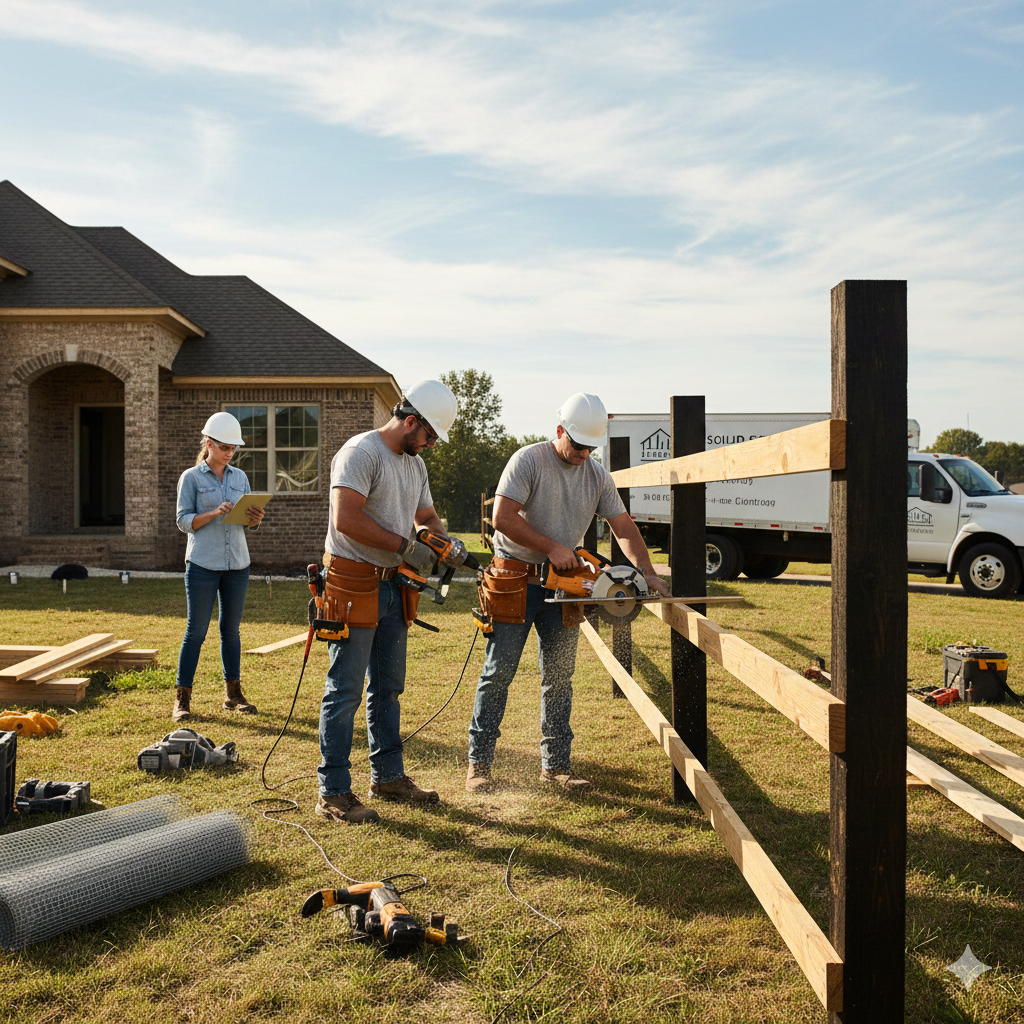
Fence Installation Process
This section explains how you move from a site visit to a finished fence and how to keep it performing. It highlights decisions about layout, materials, schedule, and maintenance you’ll need to manage.
Initial Consultation and Site Assessment
You’ll start with an on-site consultation where the contractor measures property lines, grades, and existing structures. Expect the contractor to check utility locations (call 811 for markings), setbacks, easements, and any HOA or municipal permit requirements.
Bring copies of your plot plan and any neighborhood restrictions to speed approvals. The contractor should note soil type, drainage patterns, and slope; these affect post depth, footing type, and whether retaining solutions or stepped panels are needed.
Ask for a written scope that lists proposed fence line, gate locations, post spacing, and exact materials. Confirm access points for equipment and a clear staging area; restricted access can add cost. If trees or roots affect the line, discuss protection versus removal and get change-order pricing in advance.
Material Selection
Decide on material based on function: privacy, security, pet containment, or aesthetics. Common choices include pressure-treated wood, vinyl, aluminum, steel, and chain-link. Each material has clear trade-offs—wood is affordable but needs staining; vinyl requires low upkeep but costs more upfront; metal offers durability but may need rust-resistant finishes.
Specify component details: post size and gauge, concrete footing depth, fastener type (stainless vs. galvanized), and gate hardware rating. Ask for sample boards or color chips and written warranties for panels, hardware, and labor. Request a maintenance roadmap tied to your chosen material so you know when to re-stain, reseal, or touch up finishes.
Project Timeline and Scheduling
Get a written timeline with milestones: permit approval, material delivery, post digging, concrete curing, panel installation, gate hanging, and final inspection. Typical small residential jobs run 2–5 days, but permit waits or weather can extend schedules. Confirm who handles permits and whether you’ll be notified of expected inspection dates.
Require contingency windows for rain, frozen ground, or hidden obstructions. Verify crew size and daily start/finish times so you can plan access and pets. Ask about material lead times and payment schedule tied to milestones—avoid large upfront deposits. Insist on a final walkthrough date and a punch-list process for minor corrections.
Post-Installation Maintenance
Follow a maintenance checklist tailored to your material. For wood: inspect fasteners and posts annually, re-stain or seal every 2–4 years, and replace rotten boards promptly. For metal: wash and touch up paint chips to prevent rust; lubricate hinges and locks twice a year. For vinyl: clean with mild detergent and a soft brush once or twice yearly.
Document installation details—post spacing, concrete depth, and component part numbers—and store them with your warranty. Keep vegetation trimmed 6–12 inches from the fence to avoid moisture damage. Schedule an annual inspection with your contractor if the warranty includes seasonal checks or has coverage clauses tied to professional maintenance.


Leave a Reply